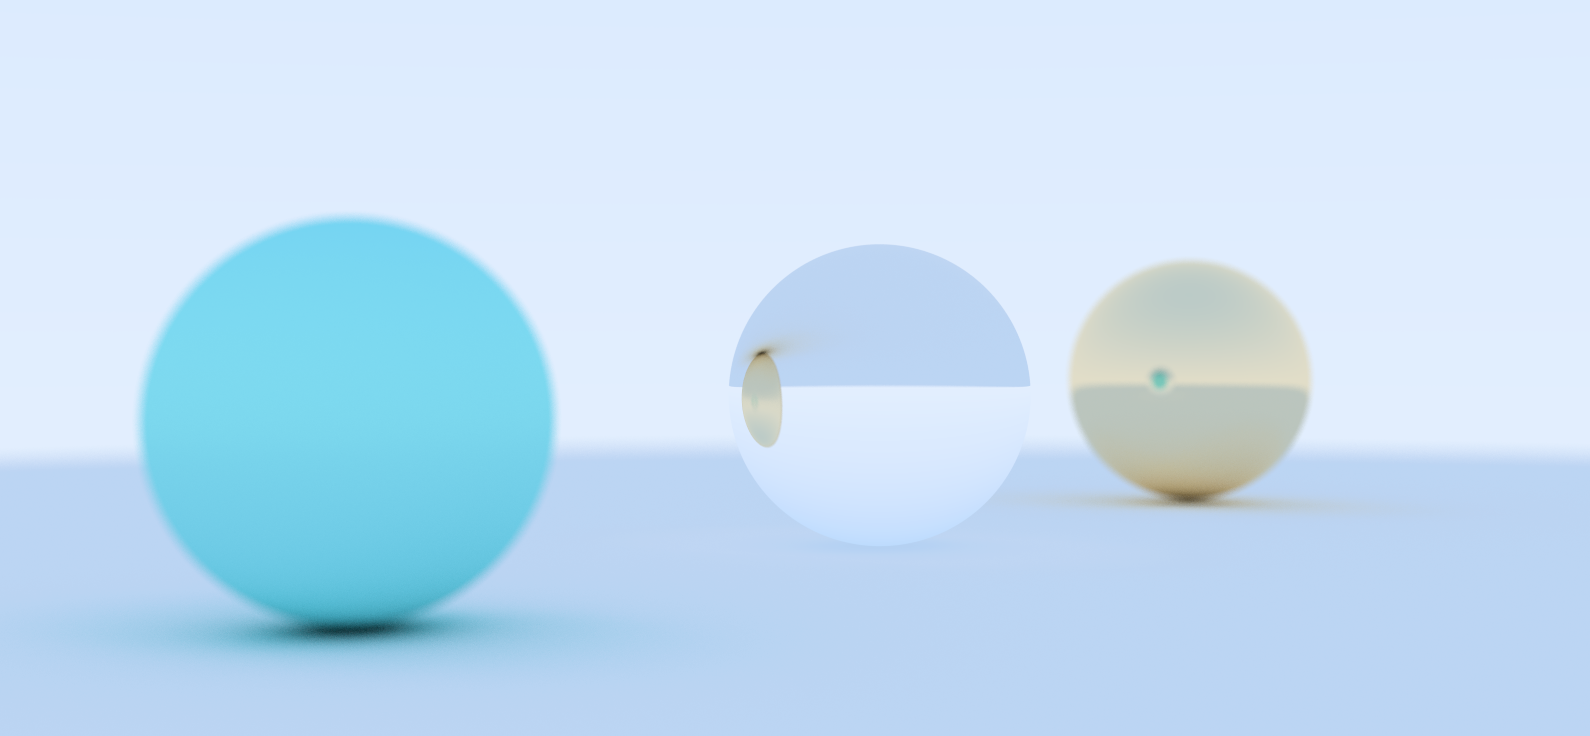
Peter Shirley’s book Raytracing In One Weekend is a great way to kickstart your own path tracer. The book gives just enough information to get spheres rendered to your screen, minimizing the amount of time spent studying theory.
I wrote a straightforward implementation of the book’s renderer using Rust many years ago. Recently, I decided to go the extra mile and port the code to the GPU, using the wgpu crate. This turned out to be much more fun than I imagined:
- The GPU implementation converges so fast that it is practically a real-time raytracer. It is ridiculously motivating to tinker with the code and algorithms.
- Diving into WGSL, the shading language of WebGPU, has proven enjoyable. It is a small Rust-like shading language with great editor support.
I decided to implement the entire raytracing algorithm in the fragment shader, generating pixel values for a fullscreen quad. Each fragment shader invocation runs the full code for the book’s ray_color function, and requires porting most of the code from the book to WGSL, including a random number generator.
Getting the raytracer to run on the GPU was not totally straightforward. This post goes over the most notable challenges faced when implementing Raytracing In One Weekend using wgpu and WGSL. Small snippets of raytracing shader code are included when relevant. The rest of the raytracer can be found in the following two files in the repository:
src/raytracer/mod.rssrc/raytracer/raytracer.wgsl
Use the wgsl-analyzer plugin (VS Code)
First, a recommendation, not a challenge.
If you are a VS Code user, I recommend installing the wgsl-analyzer plugin. It contains lots of functionality you would associate with the tools of a real programming language, such as auto-formatting, type checking, and go to definitions.
I think this plugin is a big part of why I liked programming in WGSL.
Use uniform and storage buffers instead of textures for everything
In order to store all the state that the raytracer needs, such as the random number generation and image state, it’s easier to use storage buffers than textures, as you can place arbitrary data in a storage buffer.
For instance, I wanted to accumulate pixel samples over multiple frames. A buffer is required to hold the accumulated samples. It may seem natural to use a texture to store pixel values, but a storage buffer is equally easy to use in the shader, and is much easier to set up in the host program.
|
|
There is one limitation to consider when using storage buffers. By default, on wgpu, the largest supported storage buffer size is 128 MB. For a 4K image, imageBuffer as defined above is already close to 100 MB. My buffers went over the limit when I tested less tightly packed memory layouts. Luckily, you can increase the buffer size by overriding the default limit when requesting the device:
|
|
Even my early 2015 Macbook Pro supports up to 1 GB buffer binding sizes (I haven’t tested larger), so bumping the value up appears to be quite well supported.
Implement a random number generator
One of the first things to get out of the way is to implement a random number generator on the GPU. I used the PCG random number generator algorithm, which requires a single u32 as its state.
|
|
A straightforward way of getting noise in each pixel is to have a separate seed in each pixel. We also want the seed to be different for each pixel, and even across each frame. Ray Tracing Gems II Chapter 14, “The Reference Path Tracer” uses the following function that combines the pixel index and the frame count to generate a unique seed for each pixel and frame.
|
|
You can ensure the random number generator works by rendering the output as a color for each pixel:
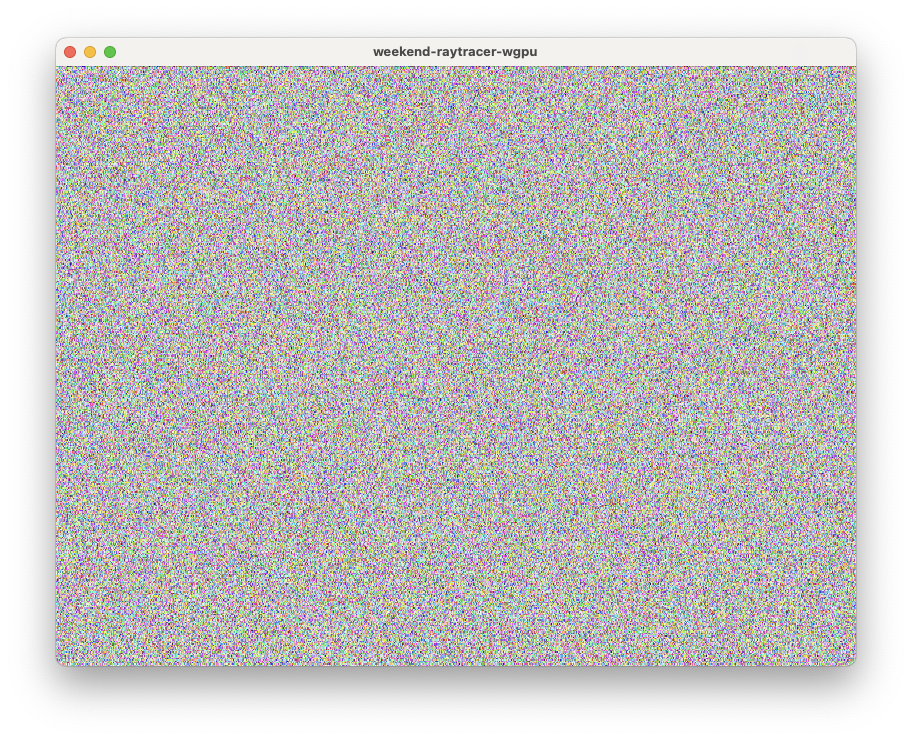
Random numbers changing over time ensures that we can accumulate new samples over multiple frames.
Generate random points in spheres and disks
Raytracing In One Weekend generates random points in spheres and disks using the rejection sampling method, which is conceptually easy to implement. I initially ported the rejection sampling method using WGSL’s loop construct but the renderer had terrible performance as a result.
It’s possible to generate random points uniformly in a disk and sphere without a loop, by generating random numbers directly using the correct distribution. You can read more about generating points in a disk over here, for instance. Notice how the random value for r is generated. The sphere case is similar, but with \(r^3 \sim U(0,1)\).
|
|
With our random number utilities in place, we are ready to implement the main raytracing function.
Porting the recursive ray_color function to WGSL
Raytracing In One Weekend’s ray_color function uses recursion to build the path that a ray takes through the scene. Unfortunately, recursion is not a thing in WGSL, so the recursive function must be translated into a loop.
Again, Ray Tracing Gems II Chapter 14, “The Reference Path Tracer”, contains the following simple rendering loop in pseudocode.
ray = generatePrimaryRay(); throughput = 1.0;
radiance = 0.0;
for bounce ∈ {1 . . . MAX_BOUNCES} do
    Trace(ray);
    if hit surface then
            brdf, brdfPdf, ray = SampleBrdf(); throughput *= brdf / brdfPdf;
    else
        radiance += throughput * skyColor; break;
return radiance;
My rayColor implementation is inspired by this pseudocode. Intersection testing with the scene is done by iterating through the array of spheres, another storage buffer. The materials are stored in another array, and are looked up using the materialIdx stored in each sphere. The sky color follows the code from Raytracing In One Weekend.
|
|
Be careful of memory layout issues between APIs
The WGSL spec has a table on memory size and alignment requirements. However, memory layout issues cropped up on wgpu and it is safest just to use vec4s everywhere, to guarantee that arrays are laid out in memory the same way when using wgpu across different platforms.
For example, according to the table, vec3 has an alignment of 16 bytes and a size of 12 bytes. On Windows, structuring your memory according to the rules specified in the table works, but on macOS it turns out that the same vector has the memory layout of an array. This appears to be a known issue in naga, wgpu’s shader translation infrastructure. Using vec4 in all structs works around this problem.
In my raytracer, a four element vector is not needed to represent the center of a sphere, but is used for memory layout purposes:
|
|
Overriding the size requirement of vec3 using explicit layout attributes also solves the problem.
What next
In the next post, the raytracer will be made shinier by adding a prettier sky model and textured spheres. Textures will be implemented using a data-oriented approach.
References and links
weekend-raytracer-wgpu (project repository, see src/raytracer/raytracer.wgsl for full implementation)
Generating random points uniformly on a disk (stackexchange post)
Ray Tracing Gems II (free download is available)